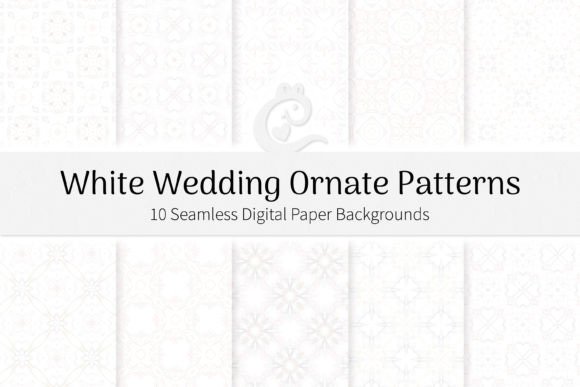
White Wedding Ornate Patterns: Elegant, Seamless, and Purpose-Built for Real Projects
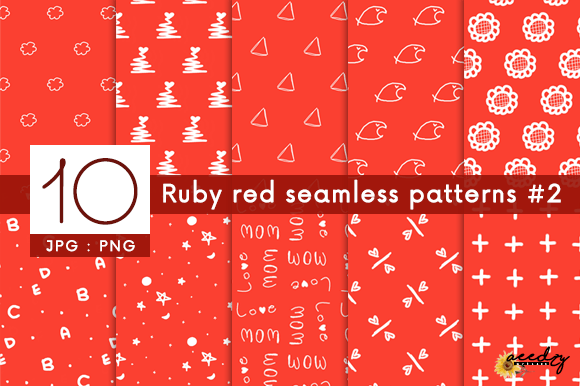
If you’re designing wedding stationery, crafting digital paper for scrapbooking, or building a cohesive brand aesthetic for a bridal boutique, White Wedding Ornate Patterns offers something many designers overlook: intentionality. This isn’t just another generic floral pack—it’s a curated set of 10 seamless patterns built around delicate geometry, soft repetition, and quiet sophistication. Each design features subtle hearts, stylized petals, interlocking diamonds, and abstract florals—arranged with rhythm and restraint, not clutter. And because they’re rendered on pure white with muted tones (think dusty rose, sage, ivory, and charcoal), they layer beautifully over photos, pair cleanly with serif typography, and scale without visual fatigue.
Common Missteps—and Why They Cost Time, Not Just Money
Many creators download ornate pattern sets expecting instant polish—only to hit roadblocks mid-project. Here’s what often goes wrong—and how to sidestep it:
Mistake #1: Assuming “seamless” means “plug-and-play in any context”
Seamless tiling works only when the pattern’s repeat unit aligns cleanly across edges—and even then, context matters. A heart-and-petal motif that reads as romantic on an invitation may feel overwhelming at full bleed on a 24×36″ wall print. Worse, some users stretch or distort the 3600×3600 px files to fit non-square canvases, introducing visible seams or warped proportions. That’s not a flaw in the White Wedding Ornate Patterns—it’s a mismatch between expectation and application.
Better approach: Test tile behavior first. Open one JPG in your design app, duplicate it four times in a grid, and zoom to 200%. Look for breaks along the vertical or horizontal seam lines. If you see them, use your software’s “Pattern Overlay” or “Define Pattern” tool (Photoshop, Affinity, Figma) instead of manual tiling. All 10 files are sized precisely for clean repeats—respect that intention.
Mistake #2: Overlooking color contrast in real-world output
These patterns rely on subtlety—not saturation. On screen, a pale petal motif might look rich and textured. In print? It can vanish against matte cardstock or fade into cream envelopes if ink density isn’t calibrated. One designer printed invitations using the “ivory-on-white” pattern at 100% opacity on uncoated paper—and ended up reordering because the detail was nearly invisible under ambient light.
Better approach: Always soft-proof for your output medium. For physical prints, reduce background brightness by 5–10% in your layout app and increase pattern opacity slightly (105–110%). For digital use—like website banners or social graphics—preview on both OLED and LCD screens. The white base ensures legibility, but contrast is your responsibility.
Mistake #3: Using high-res files without checking workflow compatibility
At 3600×3600 px and 300 dpi, these are production-ready—but not universally lightweight. Dragging a full-size JPG into Canva or a free-tier design tool may crash the editor or auto-compress the file beyond recognition. Others assume “digital paper” means “works in Procreate,” only to find the resolution too large for their iPad canvas, forcing downscaling that blurs fine linework.
Better approach: Resize proactively—not reactively. Need a phone wallpaper? Crop and resample to 1242×2688 (iPhone 15 Pro) or 1080×2400 (most Android). Building a planner sticker sheet? Export at 1500×1500 px for crisp vector-like scaling in PDFs. Keep the originals archived; use derivatives for daily work.
What to Verify Before You Download—or Design With—White Wedding Ornate Patterns
Before adding this set to your toolkit, ask yourself three practical questions:
- Is my project’s scale aligned with the pattern’s rhythm? Ornate doesn’t mean “busy.” If your layout uses generous white space (e.g., minimalist save-the-dates), lean into the most open designs—like the diamond-lattice or single-petal repeat—rather than denser florals.
- Do I control the final output environment? If you’re handing files to a printer or developer, include clear usage notes: “Use as pattern fill—not raster image,” “Avoid JPEG compression above 80% quality,” “For web: export as WebP with lossless alpha.”
- Am I solving for mood—or just filling space? These patterns evoke calm elegance, not whimsy or drama. Pairing them with bold sans-serif fonts or neon accents can unintentionally undercut their tone. Instead, try pairing with thin serifs (e.g., Cormorant Garamond), soft shadows, and restrained color palettes.
Real-World Uses That Actually Work—Without Extra Effort
You don’t need advanced skills to get strong results. Here’s where White Wedding Ornate Patterns shines with minimal adjustment:
- Greeting cards & invitations: Use as a subtle background behind die-cut windows or foil-stamped text—no masking needed.
- Digital scrapbooking: Tile across multi-page layouts; the consistent 12×12 inch sizing matches standard digital paper grids.
- Website backgrounds: Apply as CSS background-image with
background-repeat: repeat—they’re optimized for smooth tiling at any viewport width. - Product packaging: Wrap gift boxes or soap labels by tiling across custom dielines—no visible joins, even on curved surfaces.
- Social media banners: Crop a 1500×500 px strip from the center of any pattern for Instagram or Pinterest headers. The geometry ensures balance, even when cropped asymmetrically.
If you appreciate how much thought went into balancing delicacy and durability here, explore the rest of the shop—you’ll find coordinated colorways (blush, navy, sage), matching monograms, and editable templates designed to extend the same ethos across your entire project stack. No filler. No forced trends. Just tools built for people who value clarity, craft, and quiet confidence in their design choices.